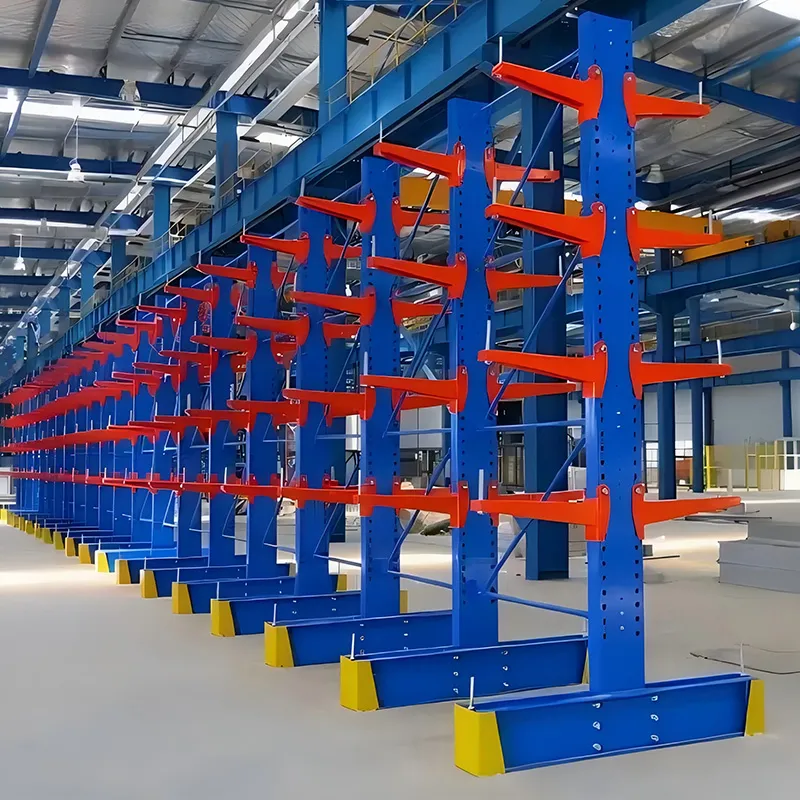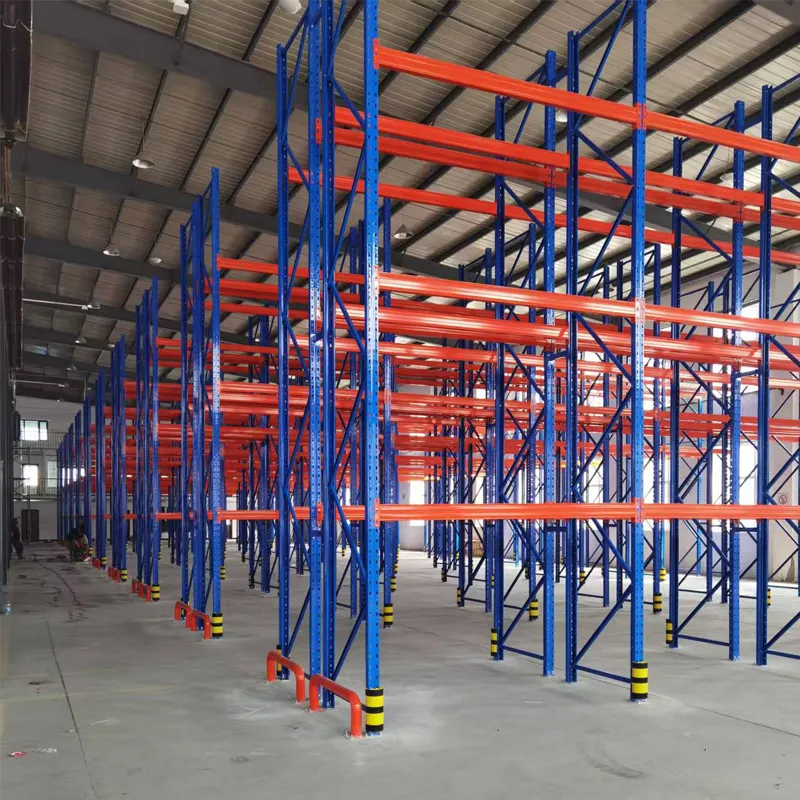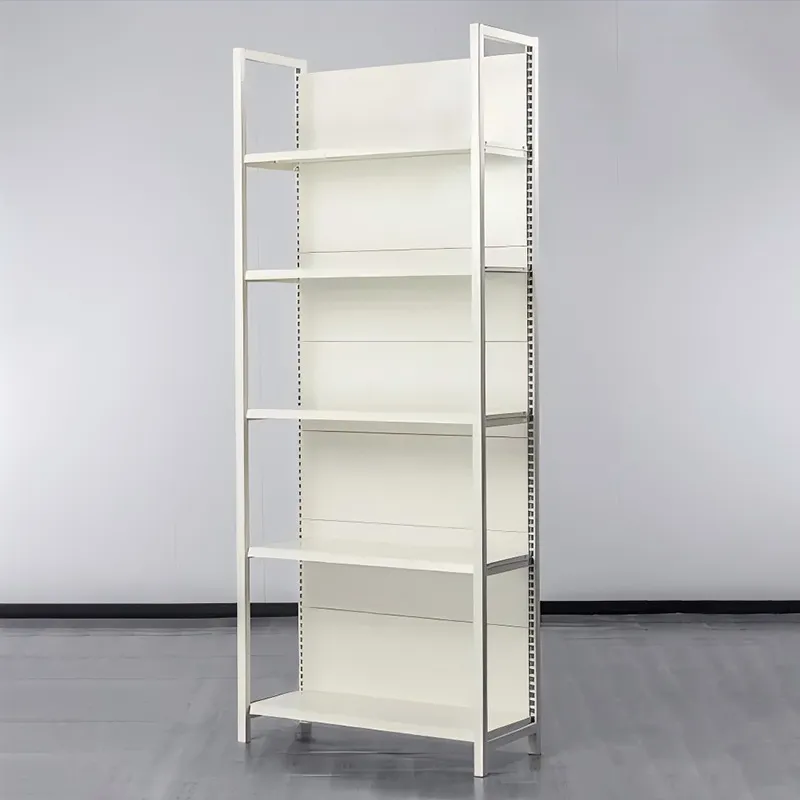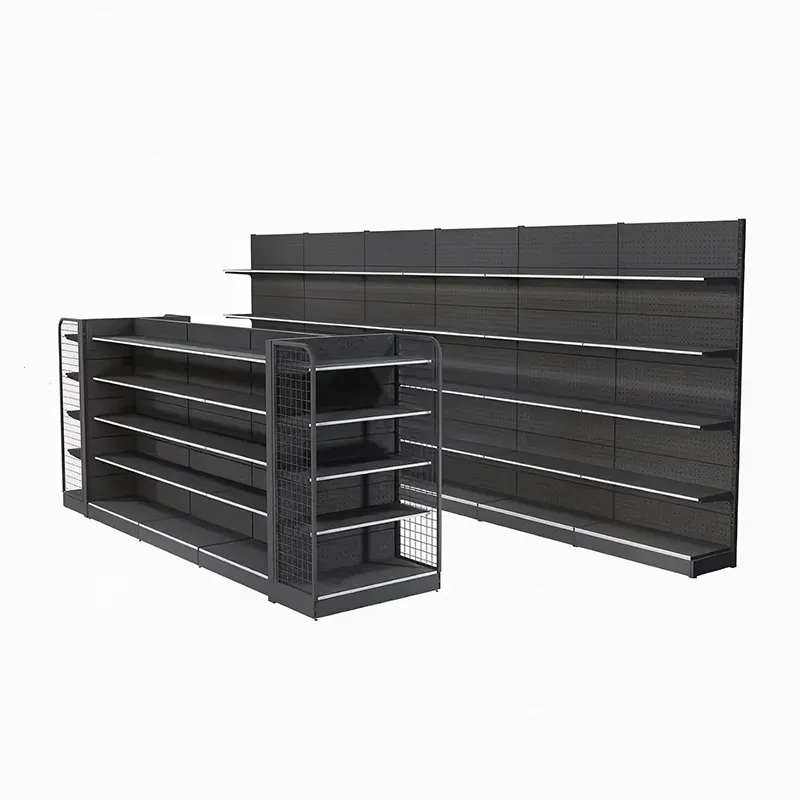
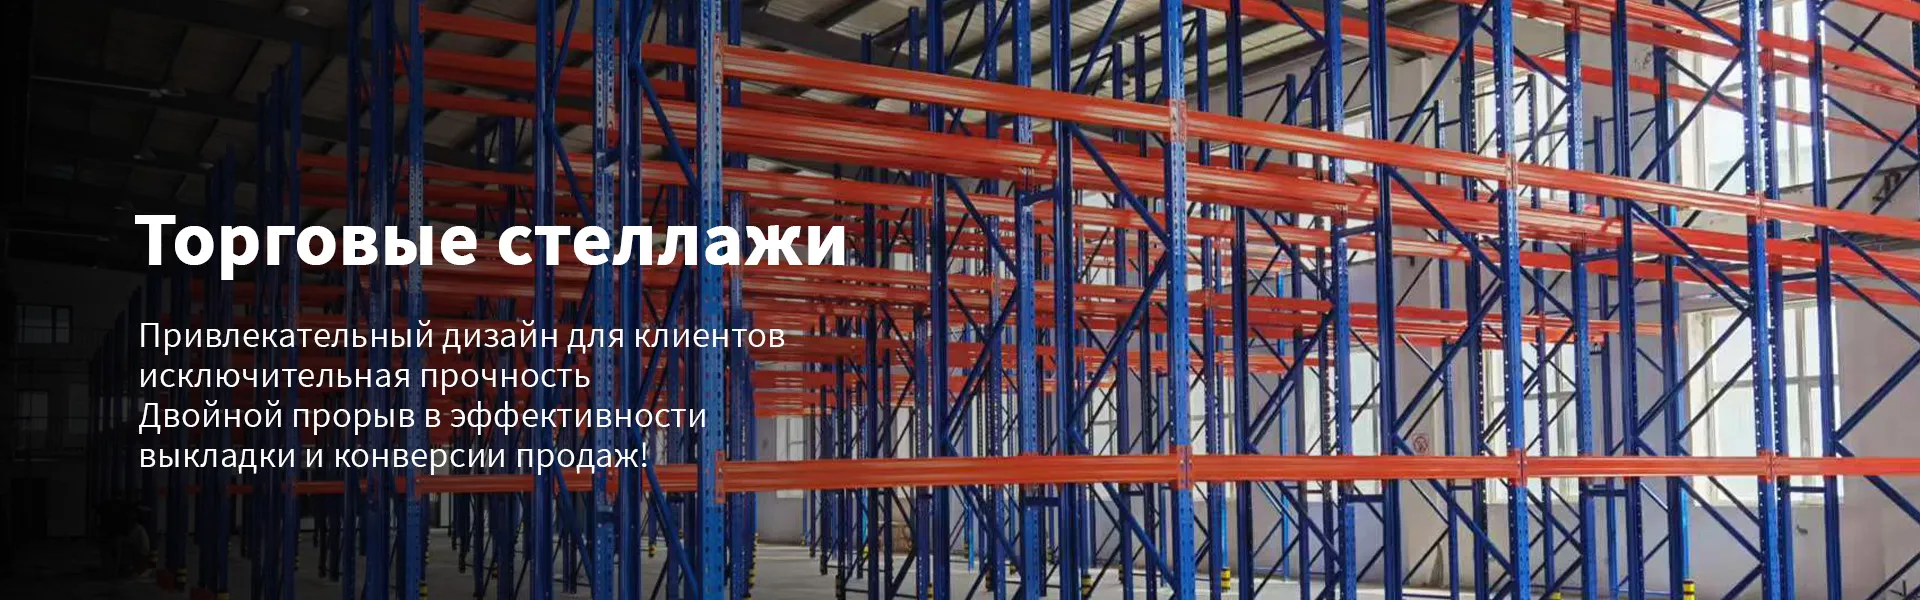
When they talk about installing heavy shelving, many people immediately imagine simply assembling iron structures according to instructions. But in practice, especially with systems from serious manufacturers like the Harbin Jusheng plant, this is always a multi-step process, where misjudging any step can lead to serious problems with load, safety and durability. The main mistake is to underestimate the preparatory stage and immediately take on the bolts.
The first and most critical stage is not unpacking the pallets of components. This is an assessment of the room and the condition of the floor. Even if you have an ideal project from?Harbin Jusheng Metal Structure Manufacturing Co.,Ltd., it still needs to be tied to reality. We once worked at a site where the customer assured that the floor was a monolithic slab. We start marking, and when drilling for anchors, after 5 cm the concrete ends - there is emptiness and old brick underneath. We had to urgently change the fastening scheme and order chemical anchors, which shifted the schedule by three days.
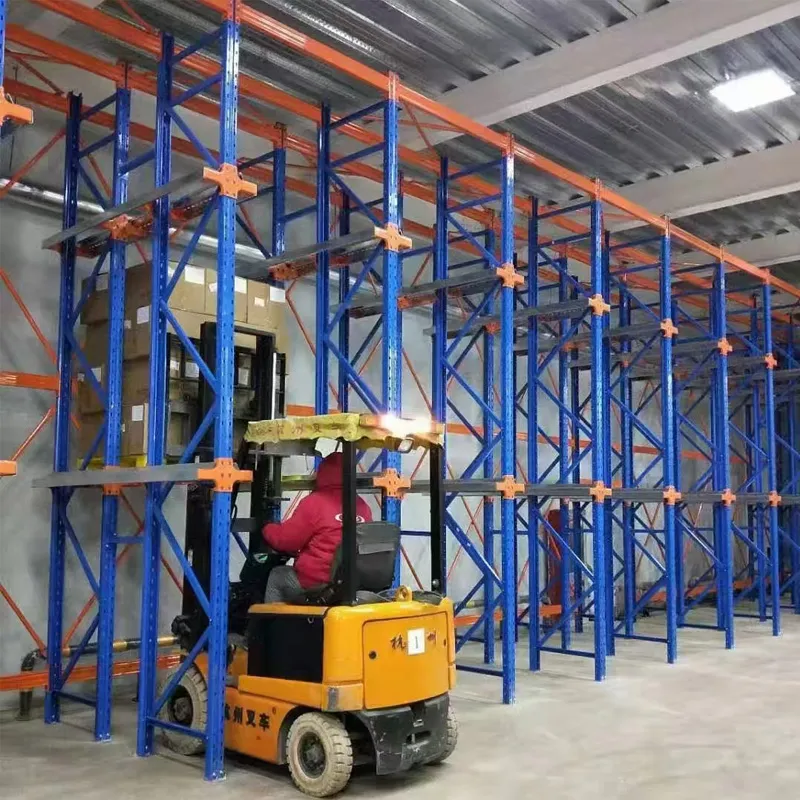
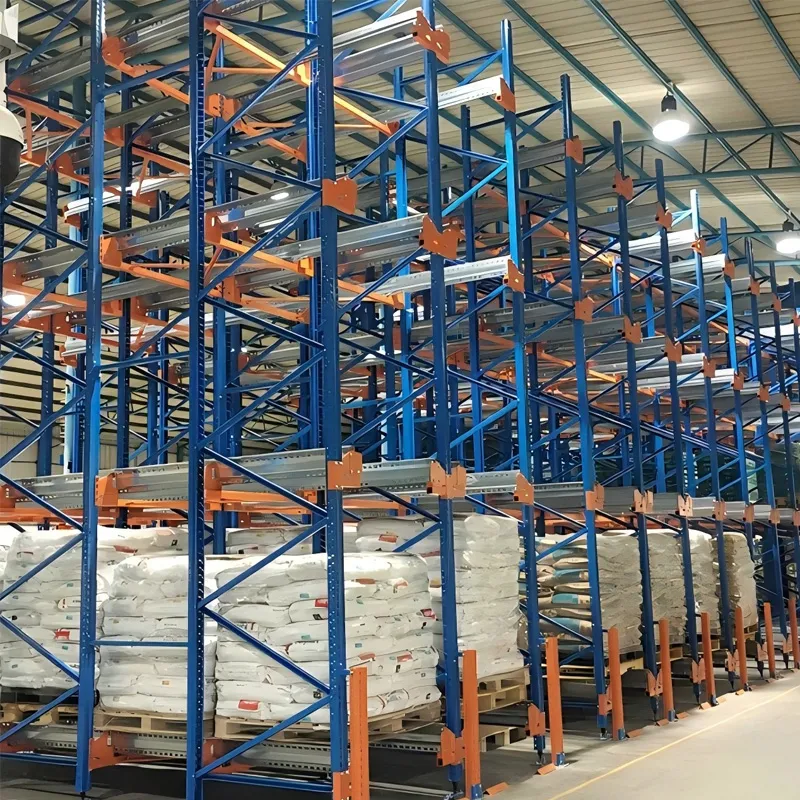
Therefore, now we always require either floor load test reports, or we ourselves do test drilling at several points. This is especially important forbeam racksand systems for four-directional shuttles, where the point load from the columns can be colossal. Without this, all subsequent stages are simply meaningless.
The second point is the reconciliation of the design documentation with the actually arrived kit. On the websitejshj.ruThe company bills itself as a full service business, and it's true, their documentation is usually very accurate. But on site you need to lay out all the beams, racks, connections and check the markings. One missing or defective part discovered in the middle of installation stops the entire job.
It would seem that it was complicated - they brought it and unloaded it. But with heavy racks, the weight of one beam can easily exceed a hundred kilograms. Improper unloading with a forklift and a bent shelf is guaranteed. We always insist that there is at least one experienced slinger on site. Components must be carefully stored in the installation area in the reverse order of assembly: what will be needed last (for example, the upper levels) is placed at the bottom of the stack.
This is where the first dispute with the client often arises: he wants to save space and store everything in the corner. But if you then have to drag a five-meter beam across the entire warehouse, the risks of damage and injury increase sharply. We have to explain that on-site logistics are part of the installation.
This is where the fun begins. We take a laser level, tape measures, chalk cords. Marking underracksThe first row must be perfect, because any deviation will be multiplied by the entire length of the section. A common mistake is to focus on the walls of the room. They are rarely perfectly parallel. We always lay a baseline from the central axis, consistent with future passages for equipment.
Installing the first rack and its temporary fixation is the moment of truth. We use temporary spacers and check the vertical along two perpendicular planes. Only after this we begin to attach it to the floor. For heavy systems ?Jusheng? Usually, certain types of anchors are included or recommended - for example, HST expansion anchors for high-density concrete. You can't replace them with just anything.
After the base row of racks is set and secured, we begin to build up the section. We connect the racks with horizontal and diagonal connections. An important nuance is not to tighten all the bolts “all the way?” straightaway. First, we assemble the entire section “for profit”, check the geometry, and only then carry out the final tightening according to the pattern from the center to the edges. This allows you to compensate for possible distortions.
Next - installationbeams. Pallet racking often uses a locking connection. You need to make sure that the latch-lock is completely seated in the groove on the stand and latched securely. This can be heard by ear - a characteristic dull click. There have been cases when the installer, due to fatigue, did not press enough on the beam, and under the load it popped out. Control at this stage is mandatory for each node.
When all sections are assembled, we proceed to general alignment. Even with perfect markings, micro-distortions are possible. We use a laser level and adjustment plates under the heels of the racks if the floor has a slope. The main thing is not to try to level the rack by pulling on the anchors, this will weaken the fastening.
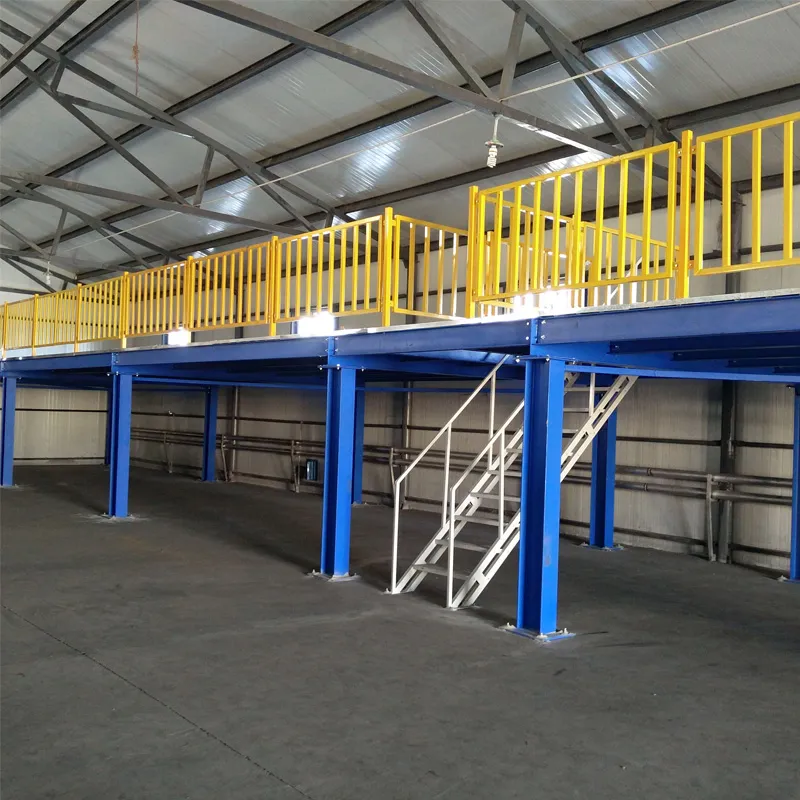
The final stage before delivery is a visual inspection of all connections and, if possible, a test load. We usually load at least one cell at each level with the calculated weight (we use, for example, pallets with water or metal blanks) and leave it for several hours. We look to see if there are any deflections, deformations, or creaks. This is not just a formality. Once upon a timemezzanine shelvingThus, a poor-quality weld on the bracket was revealed, which was not visible upon acceptance. The element was replaced before commissioning.
Here, in fact, are all the main onesstages. It seems like a lot, but if you have a clear project, like Jusheng, and an experienced team, the process goes quickly. The main thing is to take your time and not skip steps, no matter how insignificant they may seem. Because redoing a rack assembled to the ceiling is always many times more expensive and time-consuming than doing it right the first time.